WARNING! This process can result in lost data. Take great care. Please contact support if you are in any way unsure of the impact of the update.
There are some circumstances where you may want to carry out a mass update of entry data. Using the Mass Update facility you can use MS Excel, or similar, to define one or more of:
- Sex
- Bib
- Chip
- Course
- Class
- Start Time
- Predicted
- Phone
- Any of the 6 ad hoc fields.
The update is carried out in three steps:
- Export the entry data from your event.
- Add or edit the data in one of the columns listed above.
- Read the updated data back into your event.
Step 1
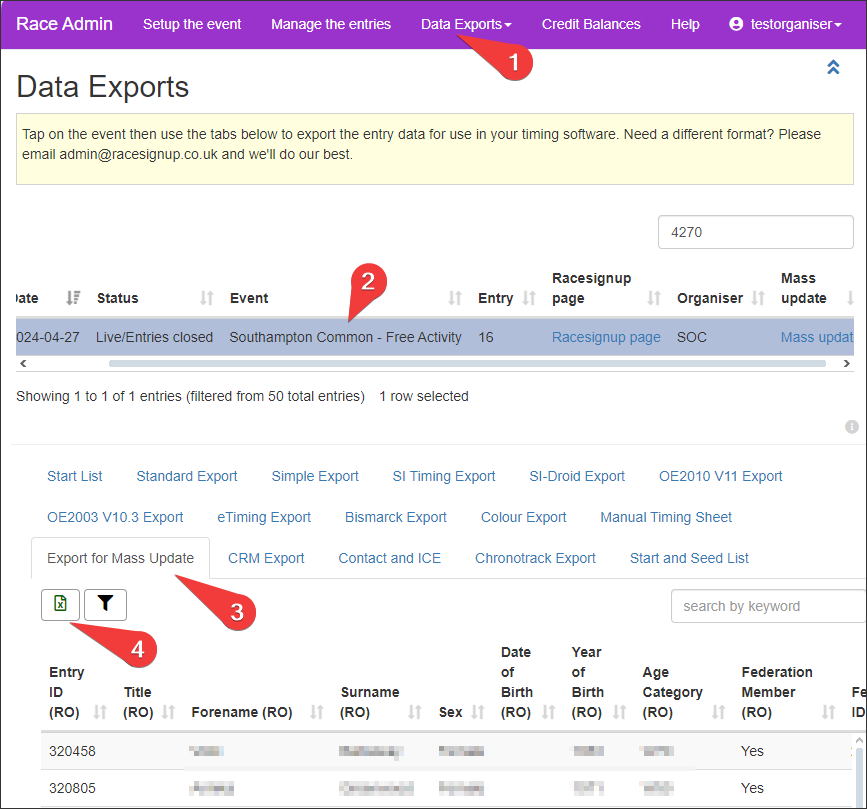
In Data Exports find and highlight your event and tap on the Export for Mass Update tab and then tap the Export to MS Excel button:
Tip: If you only need to update some records use the filter button to restrict the rows to the ones you need.
Tip: Save the original export file and work on a copy. You can then recover to the starting position if you need to.
Step 2
In the spreadsheet, where a column name is suffixed by (RO) it is a read-only column. Data in that column will not be used during the import. It is there as reference or to allow you to order the data as required.
The first column “Entry ID (RO)” is the unique reference to the entry record and MUST NOT BE CHANGED OR DELETED!
Use MS Excel to change the data in the updateable columns as required.
Do not include the apostrophe in any of the data – Excel will create an invalid import file if you do.
Tip: Take care when you are ordering by columns in the spreadsheet. Our recommendation is to place your cursor on cell A1, go to the Data tab and select Filter. Use the dropdowns in row A to order the columns as required. This will ensure that you don’t order on a subset of data and lose the synchronisation to the Entry ID.
Tip: Remove any rows that do not have updated data.
Tip: Remove any columns that do not have updated data. For instance if you are updating start times you only need to have the Entry ID (RO) column and the Start Time column,
Save the prepared spreadsheet as a CSV file, comma delimited, no encoding.
As you’ll see below, when you import the file it will update the entry records in your event with the data in any columns that do not have (RO) in the column name. Let’s say that you are importing Start Times. After populating the Start Time column you can then delete all the columns in the spreadsheet apart from Entry ID (RO) and Start Time. By doing this you guarantee that the only entry data that is updated is the Start Time.
Step 3
In Data Exports find your event and tap on Mass Update:
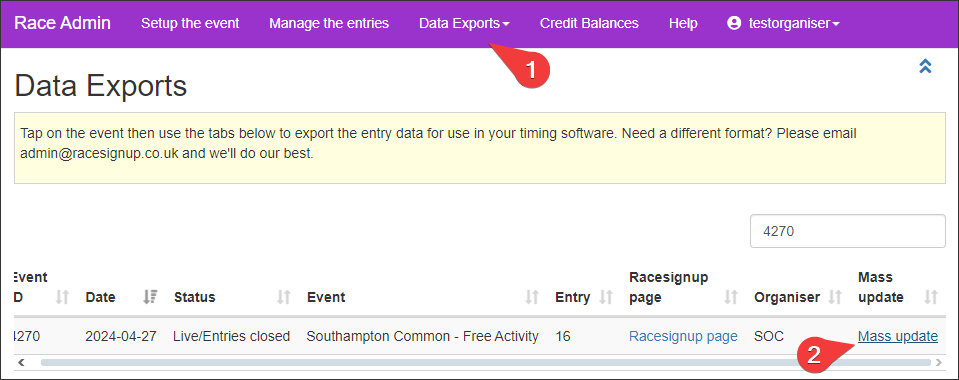
That will open the Mass Update page with guidance on what to do and notes on the required format of the updateable columns.
Scroll down this page and tap on Choose File, browse to your file and select it:

Tap on Import. The data is read into your event and the records are updated:

Job done. Check that the entry data has been updated as expected.